

This LTE FIX IT tutorial will outline the steps for building the NEXP1GO LTE CAT6 Router. It is provided strictly for educational purposes and should be used at your own risk. Haven Technologies LLC assumes no liability or responsibility for use of this information.
UPDATE: January 27, 2019
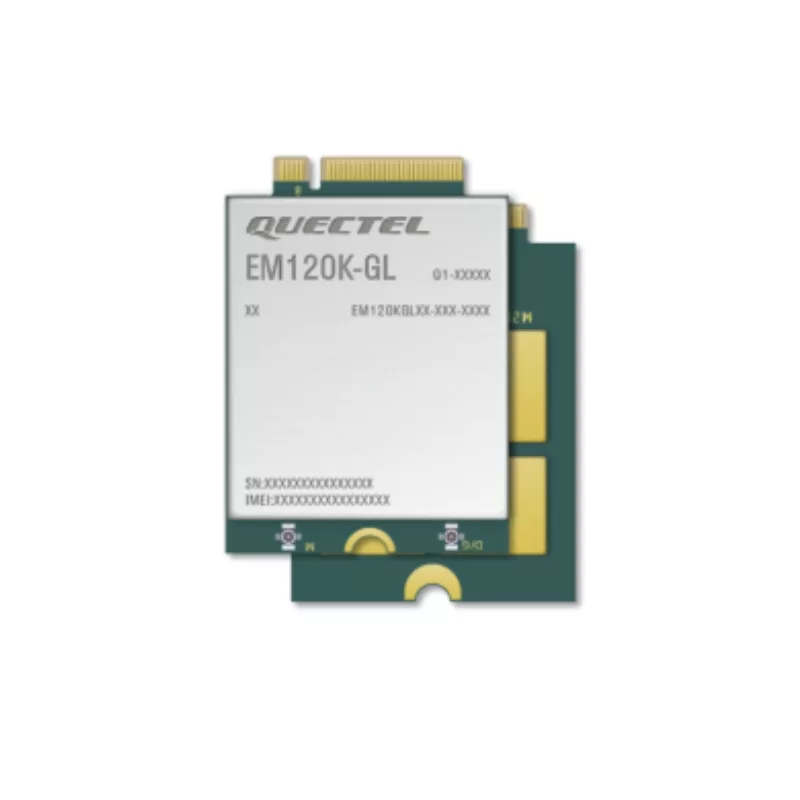
The latest WiFiX and GoldenOrb firmware has simplified a lot of the procedures once required to configure a Sierra Wireless MC7455 CAT6 or EM7565 CAT12 Modem. As such, please refer to this TOPIC on the forum.
While there are various build configurations for different applications, this tutorial is focused towards a standard build for indoor applications (i.e., home, office, desktop, wall mount...). Some of the steps have been previously addressed in a Newsletter or Tutorial -- which will be referenced when available.
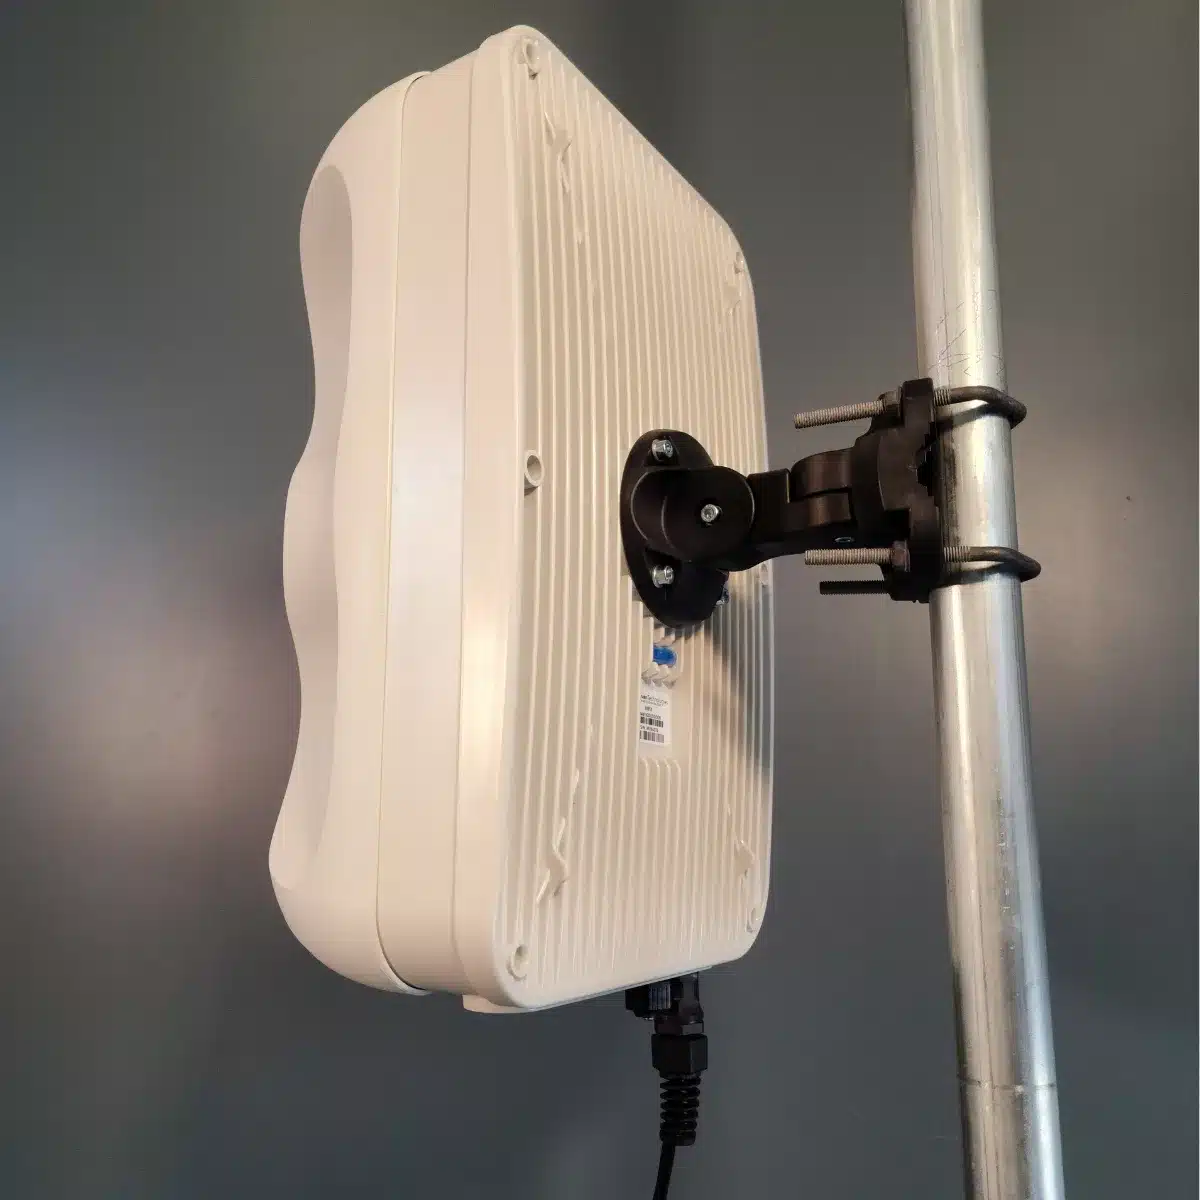
If your considering installing the NEXP1GO inside an antenna or router enclosure, you definitely can do it. It accommodates powering the router over a CAT6A/CAT7 Ethernet cable (i.e., Power over Ethernet, or "PoE" for short). For this type of installation, refer to THIS TUTORIAL. You will need to register on the forum for permission to view all the photos/images.
Follow the steps in order as presented for best results.
COMPONENTS:
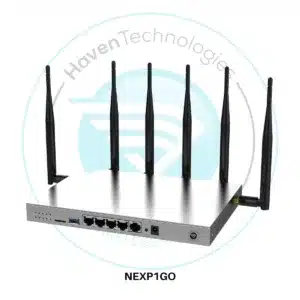
Category 6 Hotspot Router Bundle – NEXP1GO with Sierra MC7455
5 in 1 SIM Card Adapter Kit with Emery Sanding Board
NOTICE: Our newest inventory of routers also includes the 4G LTE Antennas although upgrades are available.
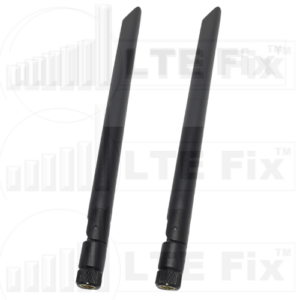
600-3800 MHz 5G +LTE Paddle Antennas (optional upgrade)
TOOLS REQUIRED:
Medium sized phillips head screwdriver
Small sized phillips head screwdriver
5/16" deep socket and nut-driver/ratchet (or 5/16" wrench) 8mm also works perfectly.
Magnifying glass (optional if eyesight is less than optimal)
Good lighting
STEP ONE: INSTALL THE MC7455 INTO THE ROUTER
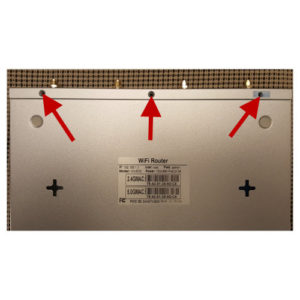
1. Remove the three Phillip head screws located on the bottom front face of the router case. One of the screws are located under the sealed sticker on the far right. Separate the two cases by sliding them apart (front to rear).
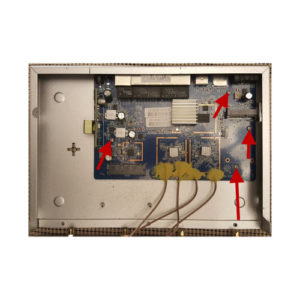
2. Remove the four phillips screws securing the PCB (router board) to the router case. You will need to access to the underneath side of the PCB to insert the screws which secure the modem.
3. The WG3526 is packaged with two screws and four white spacers. These will be used to properly space and secure the modem to the PCB.
You will notice that two of the spacers fit loosely over the screws. They will be used as spacers between the modem and the PCB.
The remaining two spacers have slightly smaller holes and will screw onto the screws (serving as nuts) to secure the modem in place.
4. Insert the modem into the mini PCI-e slot. Insert the two screws from the under side the PCB and through the two white spacers. Making sure the modem is pressed well into its slot, secure it in place with the other two spaces which act like nuts. While hand tight is generally good enough, it may require using a small phillips screw driver to hold the screw heads from turning.
Once secured, replace the screws securing the PCB to the case. You will notice that one of the screws under the modem is no longer accessible and can safely be discarded.
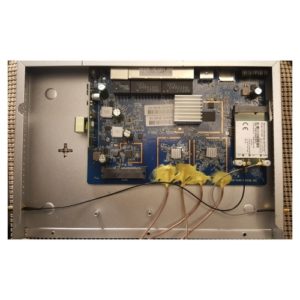
5. Carefully place the U.FL connector of the 5 inch pigtail over the Main connector port of the modem and press gently and evenly until the connector snaps in place. If you are having to force the connector, chances are the connectors are not aligning properly. This is where the magnifying glass comes in handy. Repeat the same process for the remaining 10 in pigtail, placing it on the AUX port of the modem.
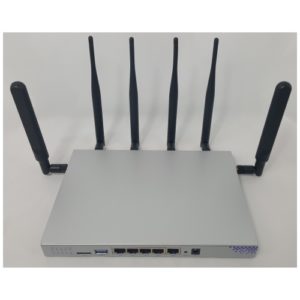
6. Slide the two cases together, insert the three screws in the facing, install the antennas, and the router is ready to go.
Notice that the 2.4GHz and the 5GHz antennas connectors are different (RP-SMA vs SMA). Make sure the antennas are installed correctly.


Comment (3)
I had disconnection problems using the Goldenorb firmware listed at the link above. After perusing the forums I found a link to newer firmware on the Ofmodemsandmen website here:
https://www.ofmodemsandmen.com/upload/
You can also download the latest WiFiX custom version of GoldenOrb from here: https://thewirelesshaven.com/wifix-router-firmware/